How to Start a Blog on WordPress the Right Way
So you’re doing it, you’ve decided to start a blog. You’ve researched and researched and there’s so much information out there you don’t even know where to start.
I’m going to show you how to start a blog on WordPress the right way.
As a web designer, you don’t know how many times I’ve built websites for clients that sit empty. They jump the gun on the design and then don’t have the time or inspiration to keep writing on their sites past a couple of posts.
They don’t see the return and traffic remains stagnant and then they give up. If you have the drive and the will power to push past the beginning, you can have a successful website.
If you’ve been researching, you know that WP.org is the way to go if you want to take this blogging thing seriously and not WP.com. WP.com has limitations and if you’re growing a business, it’s not where you want to be.
This means that you’ll want to be self-hosted on WP.org, it doesn’t mean that you’ll have a .org domain name. It means that you’ll have your own domain name and you’ll need to choose a hosting company to host your site.
Find the right domain name
Research your domain name, does it easily convey what your site is about? Is it easy to spell and not mistaken with another site? Google the site name, are there other sites that are close or related to your website name? Is the name trademarked? You want to ensure that your site does not infringe on someone else’s copyright.
You cannot use any trademarked names in your own domain name like Instant Pot or Crock Pot.
Head on over to Namecheap to look up a website name, you can look up any potential names you’d like to try to see if they’re available. Try to avoid extra long names or hyphens.
Google Namecheap coupons and you may find promo coupons that you can use to purchase your first domain name.
I recommend that you purchase your domain name from someone other than your hosting company. It’s more likely that you’ll end up having to switch hosting companies as your blog grows and you don’t want them to hold your domain name hostage.
The only thing in addition to your name, you’ll need to purchase Whois guard. This protects your private information from being listed online. This is a huge must!
That’s it only this and none of the other bells and whistles.
Get your Hosting
When you start a blog, you start off with very little traffic and you may be unsure if it’s a hobby that you’d like to stick to. You want to find a great host for a reasonable price.
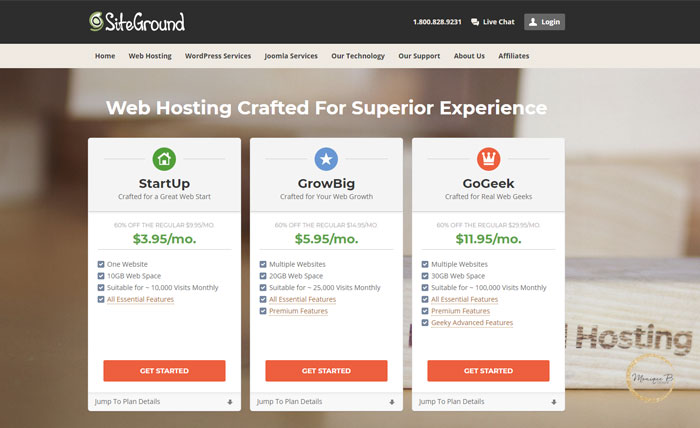
Siteground is what I use and recommend for new blogs and it’s what I use for new projects. I have way more ideas than time so when I want to start a new blog, I host it on Siteground as I give it time to get off of the ground.
My main site which has a much larger traffic and when you outgrow Siteground, I recommend Techsurgeons. They don’t have an affiliate program but I’d shout their names from the rooftop any day. Their customer service is amazing, Jay is your man to speak to when you have questions about moving but he has a team of support staff that is quick to resolve any issues.
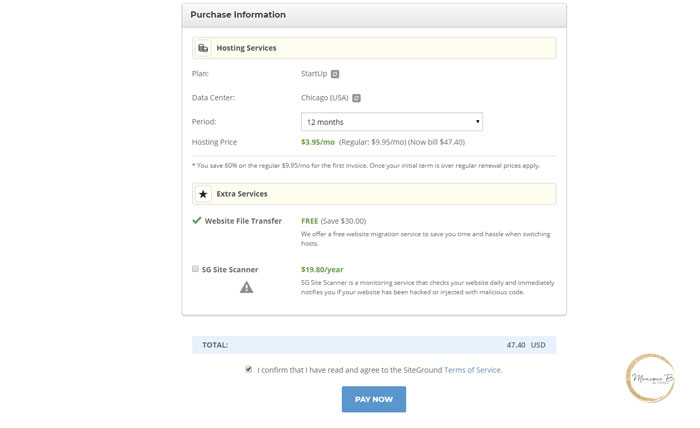
Decide on the right plan and when you’re starting a brand new site, the Startup package is fine. It’s $3.95/month and that’s the rate if you purchase and pay for one year of hosting. This means for 12 months of hosting you’re paying ~$48/year. This is totally reasonable and gives you the oomph you need to make the most of your site now that you’re paying for it.
And to think that you only need to invest this small amount to get your brand new blog started, why not get started today.
I’m hesitant to recommend that you purchase more than 2 years unless you’re absolutely sure that you’d like to stick with them. A lot can happen in a year and you may find that your blog outgrows a startup host and you may need to switch.
Woot woot, you now have your domain and hosting, you rock!
Now let’s get into the tech part that you’ve been dragging on. I promise it’s not as bad as you think.
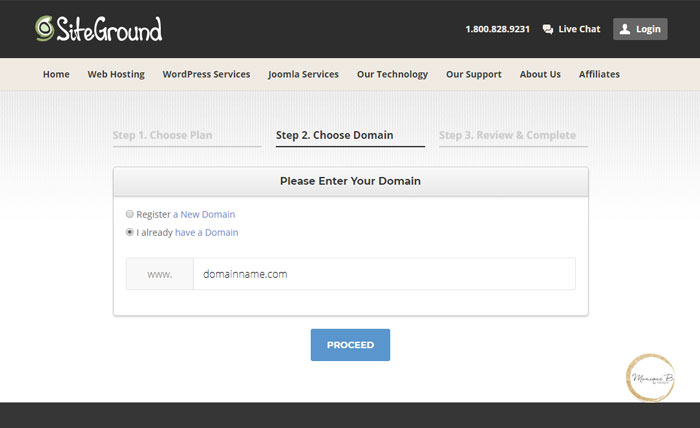
Before we do anything else, we need to connect your domain name to your hosting. This means we need to get our nameservers so our host can talk to our domain name.
In Siteground, you’ll be in the user area on the home page, go do my accounts, and manage account under the domain name you just registered, and head on over to the cpanel.
This is where all the techy magic happens.
On the left hand side, you’ll find the nameservers, record these two numbers.

We’ll take those numbers and head on back to Namecheap and login into your account. You’ll be in your dashboard, go to your domain name and hit the manage button.
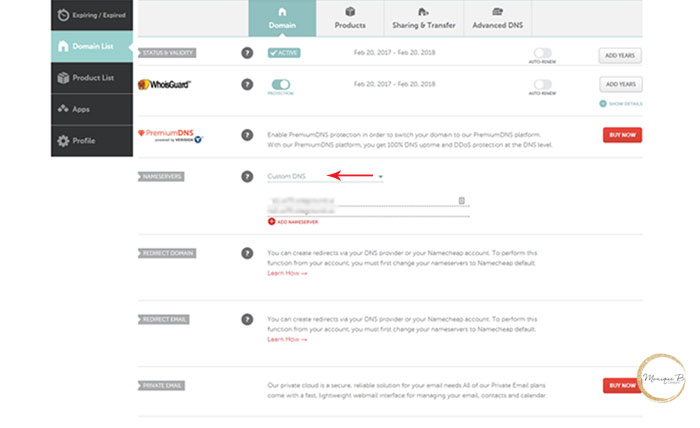
Under nameservers, you want to change it to custom nameservers and add those two numbers you recorded.
It will take up to 24 hours before the domain propagates so that you’ll be able to see it on the front end. It usually takes 4 hours but isn’t absolute until 24 hours later.
While you’re waiting, you can install WP on your site.
Install WordPress
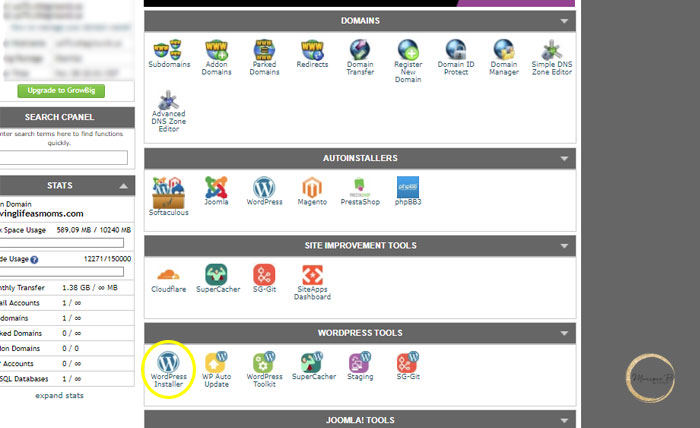
Head on back to your Siteground cPanel. Under WordPress tools, you’ll see WordPress installer, hit this button and it will take you to the admin screen to get WP set up. Hit install then you’ll be ready to get started.
Make sure the correct domain name is in the form. you don’t need a root directory, don’t add anything here. Choose a username and password that is difficult to guess.
Do not use Admin or any variations of that as your username. Use numbers, symbols and upper and lowercase letters to create a strong password.

I use Lastpass to save all of my passwords, if you add the Chrome extension, you can access any site using your Lastpass passwords and it’s free.
You need a strong password to prevent hackers from gaining access to your site.
Enter a valid email address that you’ll be able to get notifications from. Your hosting company can also provide you with a blog email address to use like hello@yourdomain.com. You’ll want to use this with your email marketing service so go ahead and get one.
Select the limit login attempts plugin, no need for anything else yet. You don’t need to choose a theme yet. Double check your info and be sure to accurately record your password and then hit install.
Once your domain propagates, you’ll be able to access your site at yourdomain.com/wp-admin. Use your username/password to login.
Voila! You’ve installed WordPress onto your site all by yourself.
Let’s ensure the blog is set up the right way
Head on over to Settings –> General and enter your site name and tagline if you have one, or else the default name will be displayed which we don’t want. Check that the correct email has been entered.
Set up your time zone and date format.
I don’t touch anything under Writing but under Reading – set the number of posts to show I always change this to an even number like 10 for example.
And for each article in the feed, I always choose summary, we don’t want feed readers to have the full post or else they won’t visit the site.
The most important step here is under Permalinks.
Be sure to choose post name as your url structure and I get rid of the backslash at the end. This way you don’t need to worry about dates in your url and it makes your content more evergreen.
Add your plugins
Under Plugins, go to add new and search for these plugins, these are a must for any blog.
- Anti-Spam – combat spam comments – you’ll need to visit their site to obtain a key to activate it on your site.
- Limit Login Attempts – limit the number of times people can try to login which prevents hackers from trying tons of logins at once.
- Sharing plugin – I like Grow from Mediavine, it’s lightweight, there is free and paid version, I use the paid one.
- RankMath – helps you get your site structured properly for SEO and allows you fill out a proper meta description for each post. And it doesn’t weight your site down.
When you activate it, it will add a new tab to the left side of your dashboard, or you’ll find it under Settings.
Find a theme
There are tons of free themes, under Appearance –> Themes, there’s a whole depository of free WP themes. You’ll find that the logo is a normal and boring text font but no worries, we can work on that later. Don’t let this part frazzle you, no one is going to visit if you don’t have great content, so let that be your focus first.
If you’re ready to find a premium theme, I use the Genesis framework from Studiopress. It’s the most flexible framework and you can do much with it and it’s constantly being updated.
Click here to download The Genesis Guide for Absolute Beginners (PDF – 1.4 MB)
The Genesis framework needs a child theme to pretty it up, I really like the themes from Restored316, they specialize in Feminine WP themes. For those who don’t want a feminine touch, Studiopress has a ton of themes available.

To upload your own theme, go to Appearance –> Themes –> Add New and upload the theme zip file for Genesis and your child theme.
When it’s done uploading you can activate it.
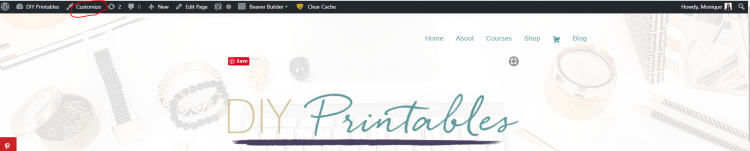
With the Restored 316 themes, you can easily customize them, just go to Customize in the top left corner.
Then you’ll see the many options it brings up for you to edit. I’m just going to show you the 2 main things to get you started.
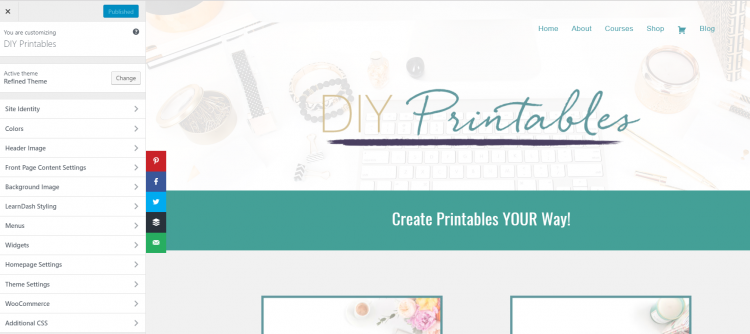
Add a header
From Customize –> Header and you’ll bring up the image below. It will tell you what size header graphic to upload for your theme.
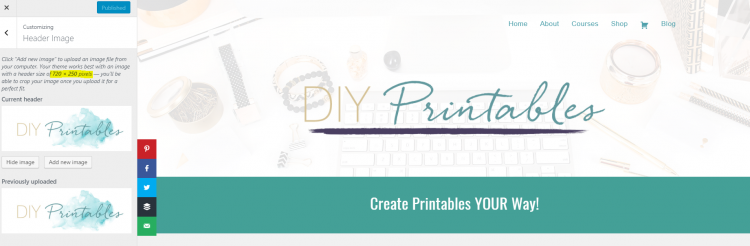
Use those dimensions to create a logo for your website in Canva and download the png version of your logo to use it here.
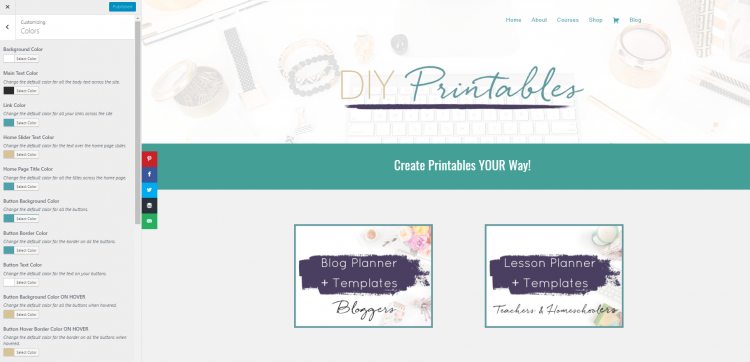
To customize the colors go to Customize –> Colors and it will bring up the menu above. You’ll want to pull out colors from your logo to ensure that your website branding is cohesive.
Install the Chrome/Firefox extension Colorzilla so that you can grab the hex code for the colors in your logo and use them for buttons, link colors and more on your website.
Boom!
You’ve done it, you’ve just set up your blog in no time. The fun part is picking a cool theme. Now get writing.
Must-Have Plugins for Your Blog
Get this simple blog planner

Subscribe and get weekly blogging and design goodies in your inbox along with this FREE blog planner